
Red velvet. Another one of those foods/”flavors” that can easily spark a heated food debate. Is it “just chocolate with red food coloring” or is there something more to the classic cake (and now cookie) flavor? Technically, when red velvet is made the traditional way, there is more acidity present than in a standard chocolate cake; however, whether it is made “correctly” or not, it is delicious. As a nod to classic red velvet cake and “just chocolate cake with red food coloring”, we have developed red velvet cookies two different ways.
Ingredients you’ll need
- Flour
- Cocoa powder
- Cornstarch
- Baking soda
- Salt
- Unsalted butter softened
- Brown sugar
- Granulated (white) sugar
- Egg
- Vanilla extract
- Red food coloring
- White chocolate chips for option 1
- For option 2:
- Cream cheese softened
- Powdered sugar
- Milk (if needed)
Equipment you’ll need
- Stand or electric hand mixer
- Mixing bowls
- Measuring spoons/cups
- Rubber spatula
- Whisk
- Baking sheet
- Nonstick baking spray
- Ice cream scoop
- Sift or fine-mesh strainer
How to make red velvet cookies (with white chocolate chips)
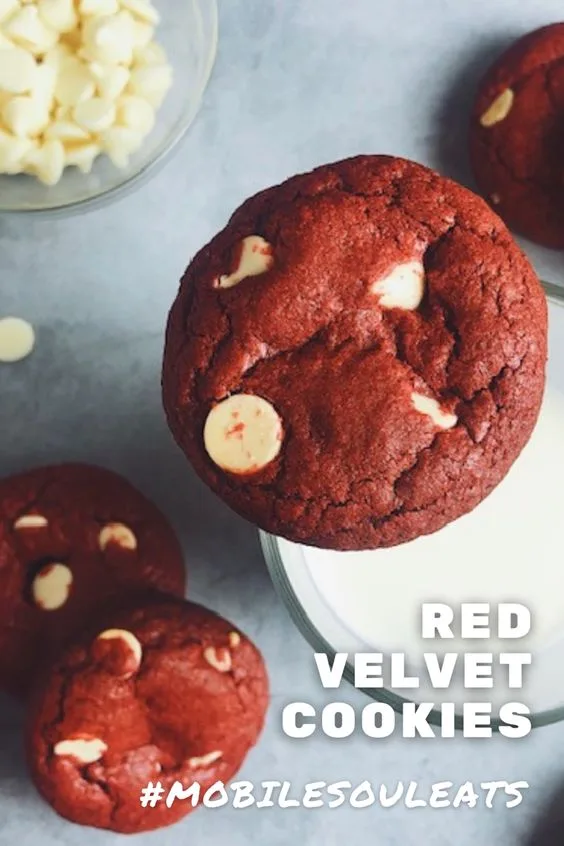
Making these cookies is very similar to making chocolate chip cookies. Almost identical. There are a few things to remember when making cookies like this that will help them come out perfectly every time, but otherwise, it’s a very straightforward process.
Use a stand mixer or electric hand mixer to whip butter and sugars together. Add eggs and vanilla extract then red food coloring. In another mixing bowl whisk together flour, cocoa powder, cornstarch, baking soda, and salt. Add dry ingredients to wet ingredients then use a stand or hand mixer to combine them thoroughly. Fold in white chocolate chips with a rubber spatula then transfer the dough to a container or cover. Refrigerate for at least 30 minutes. If you’re going to bake the cookies the same day, you can preheat the oven while you wait for the dough to chill.
This first way of making red velvet cookies incorporates white chocolate chips to replace the frosting component. Our “chocolate cake with red food coloring” red velvet cookies. Once the dough has chilled, use an ice cream scoop to make cookies. Bake for 9-11 minutes in 350º F oven.
Why the cornstarch?
Cornstarch isn’t necessary for this recipe, but it does add a tender, crumbly quality to the cookies that reminds me of red velvet cake. If you don’t have cornstarch on hand, no worries. Your cookies will come out just fine without it!
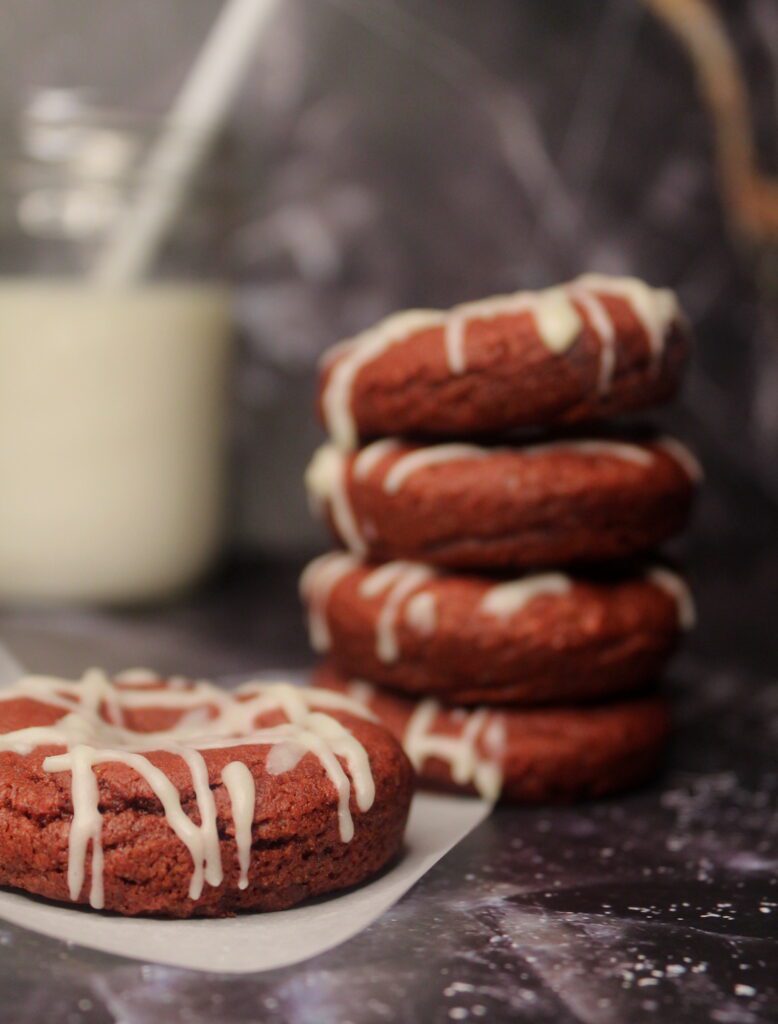
How to make red velvet cookies (with cream cheese glaze)
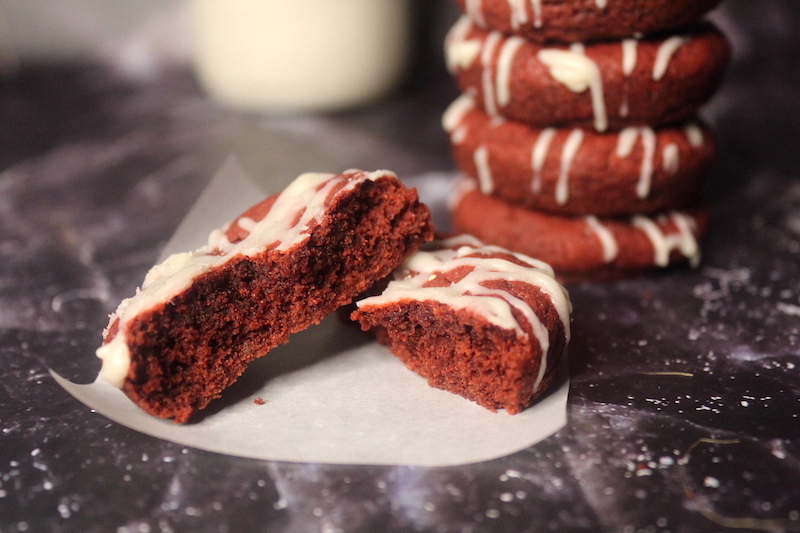
The second way we make our red velvet cookies removes the white chocolate chips and uses a cream cheese glaze to finish the cookies once they are done baking. If you’re a real red velvet fan, you know it isn’t complete with that cream cheese frosting!
The base cookie is still the same, so refer to the steps above for those details. To make the cream cheese glaze:
Ingredients
- 4 ounces very soft cream cheese
- 4 Tablespoons unsalted butter, melted and cooled slightly
- 2 teaspoons vanilla extract
- 1 cup powdered sugar, sifted
- Milk, if needed
Instructions
- Combine all of the ingredients except milk into a smooth glaze. If you need to thin it out, use more melted butter or milk to do so. Using melted butter will allow the glaze to harden as the butter cools, and adding milk will create a looser finished glaze.
- Use a piping bag or squeeze bottle to decorate the finished cookies. Or just use the glaze as a dip and enjoy the cookies that way!
Do I have to sift the powdered sugar?
Honestly, no. It will taste pretty much the same; however, the powdered sugar is most likely going to clump and create a glaze that is uneven and slightly lump, no matter how much whisking you do. Again, it’s no problem in the flavor department, but for visuals-sake, sifting is necessary.
How to make cookies that are the same size and prevent excess spread?
Using an ice cream scoop usually does the job of making sure the same amount of dough is in each cookie. You can also use a scale to get the balls of dough at or around the same size.
To help prevent spread, make sure to give the dough (mainly the butter in the dough) enough time to chill. After whipping up the dough, it is warm, and putting it directly in a warm oven will cause the cookies to spread more than you’d like. Another way to prevent spread is by using a muffin tin or cupcake pan to bake the cookies. The sides of the dish will physically stop the cookies from spreading any further. Be sure to use plenty of nonstick baking spray when using this method to help keep the cookies from sticking.
Leave a Reply